


We are having a sale on wall decor this weekend at the Cottage so I thought I would offer up some inspiration, because I don't know about you, but I can't seem to be able to do anything without some inspiration.
I just finished this wall this week, I'll walk you through the process.
My first thought was I didn't want to spend much if any. I will say though I have quite a hoard collection of wall, etc. type decor. I really have yet to hang anything on my walls, since we moved in(I won't say how long ago that was), also I have a corner in the garage of stuff to finish for the Cottage.
If your super organized and don't have your own hoard er' um collection. There is still hope for your walls. My humble advice is look around your house, well wait if you have the cash then head on over to the Cottage and we'll fix you up. If your like me and the decor budget is pretty small then I'd advise you to look around your house first. I had all the frames I used I just painted them to go nicely with the other elements.
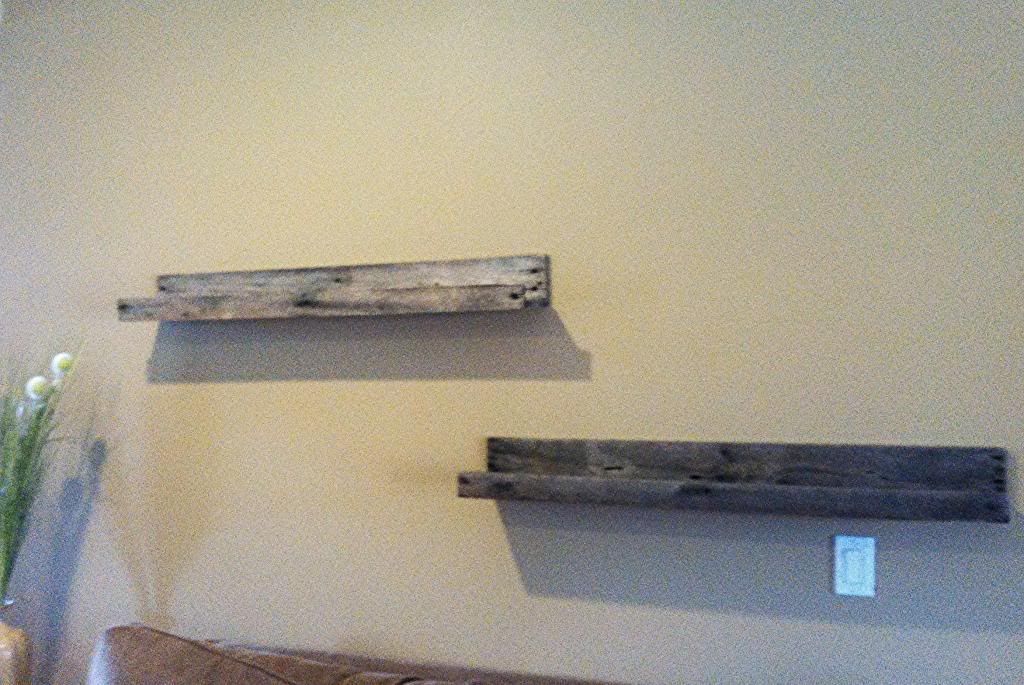
Actually the first thing we did(I have to include my husband on this part) is to make the picture ledge. We used a pallet that's been sitting around for months(I kinda feel like I might be giving the wrong impression of our home)anyway I used this tutorial on how to disassemble a pallet and this tutorial on building a picture ledge, although I'm not sure my husband really needed a tutorial, but if your on your own, then these are great.
Free so far.
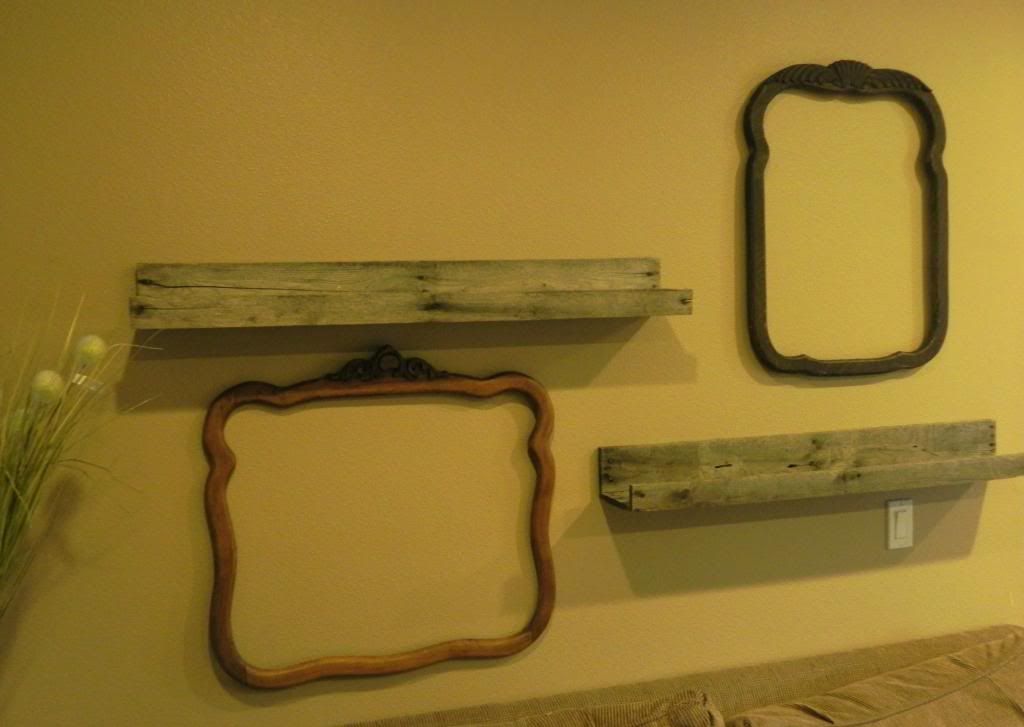
Next I had those awesome frames in my stash from a garage sale last summer.
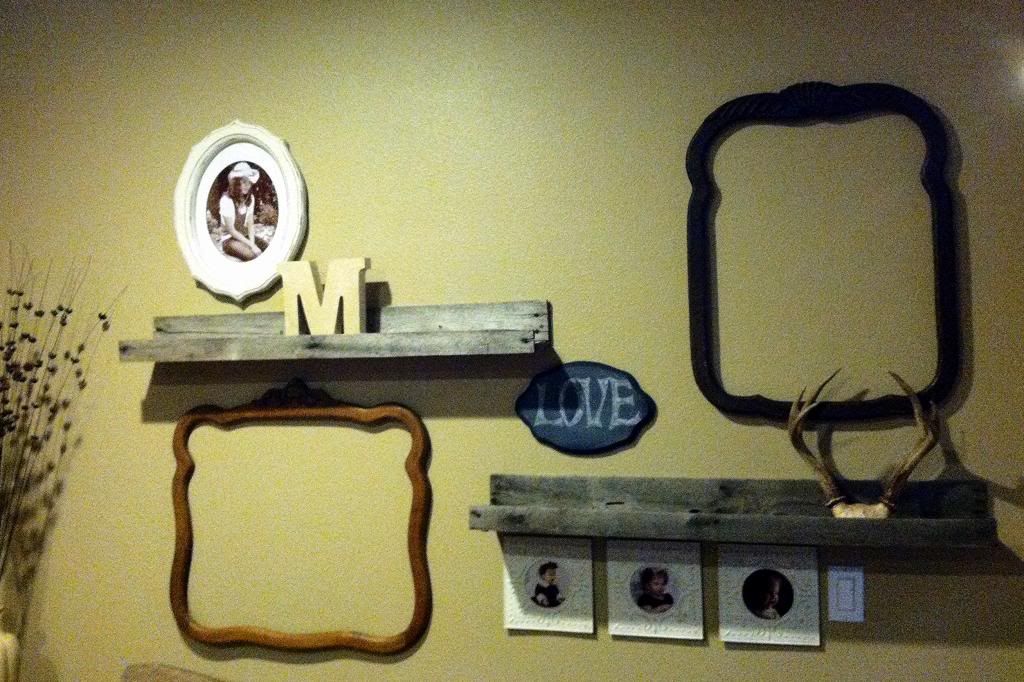
So here we are so far...
I knew I wanted three frames under the bottom shelf. Those were actually mirrors I picked up at a garage sale one was broken, the other two were on my bathroom wall. I just replaced the mirrors with pictures.
I had the other oval frame still in my car from a thrift store trip a few days earlier. I'm not sure what it is made of it's not plastic but not really wood it's super light. I thought it had a good shape and it was $1. I painted over the original gold paint it in our Cottage white. I got the "M" for my birthday from my sister in law(Shannon for those of you who visit the Cottage often)
I've noticed antlers on Pinterest lately which is so ironic because my husband is a hunter and we've argued all these years about using them as decor(shh I kind of love em there).
I knew I wanted something oval between the shelves there, so to my stash I went, chalkboard also inspired by Pinterest.
And here we are again...
I don't know how to explain how I came up with the lantern on the hook, process of elimination I guess (meaning I knew what wouldn't work) and remembering I saved that hook, also I'm sure seeing something like it on Pinterest(have I said I'm slightly obsessed with Pinterest).
I also must say the whole process happened over several days. I guess sometimes I have to wait on inspiration. I wish I could just think something up and make it happen in a day, but it just doesn't work that way for me.
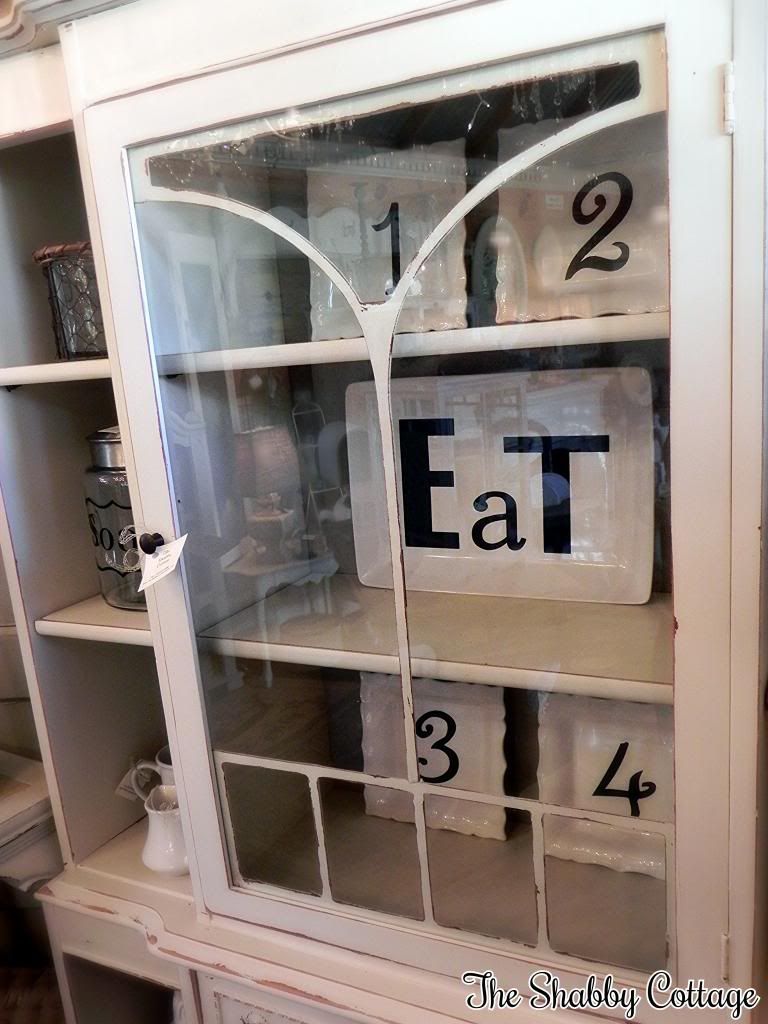
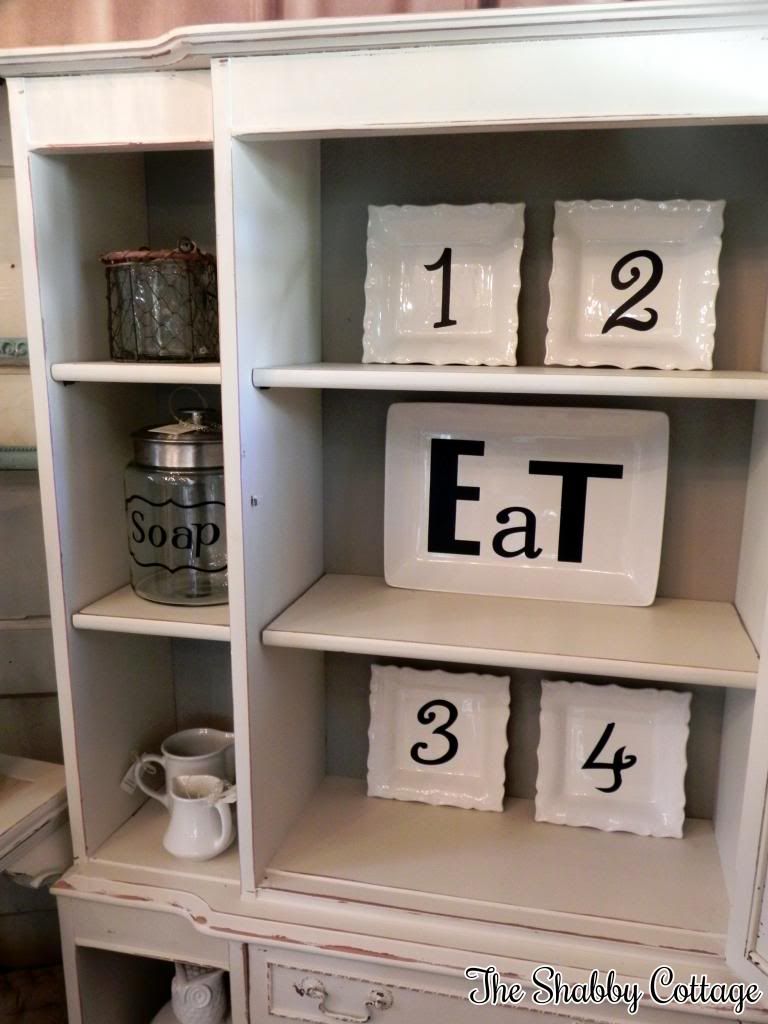
The frames inside the larger frame was kinda funny. I first thought "ya three frames, but hmm they need to be square", not oval, not even rectangle, I don't know why my head works like this, anyway, then I remembered I have small square wood frames(seriously I'm not a hoarder). I'm actually not loving that part so it will probably change at some point.
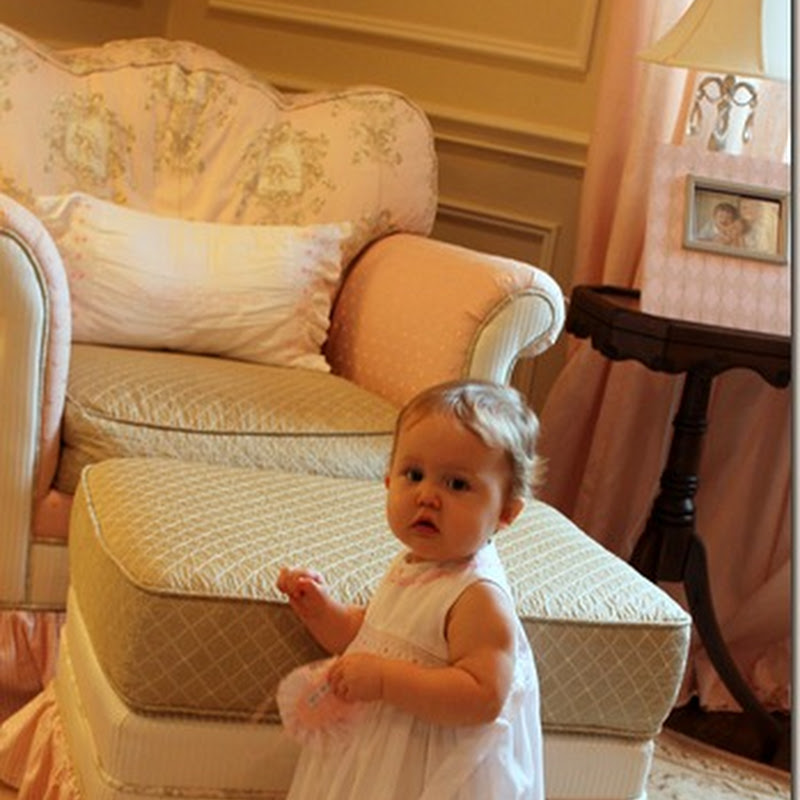
The deciding on pictures can be a little difficult. Of course you have to keep it even to avoid comments like "there's more pictures of her then me". I have in the past taken pictures to Walgreen's and copied them, or had them printed in a different size to fit a frame. This also works if you want all your pictures in black and white.
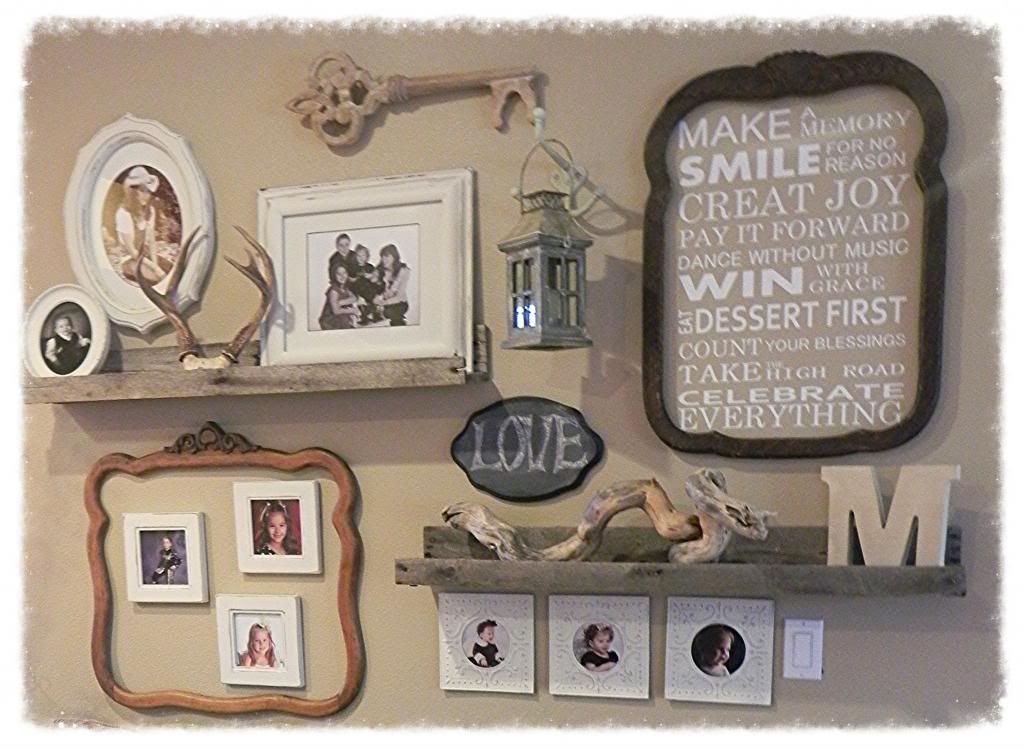
So after a little tweaking, painting and cricuting(I'll talk about that in a min)...Here is the finished product...It was pretty fun to do, and actually completely free(not that everything was free in the first place, but free this week when I just didn't have the cash, and wanted some pretty).
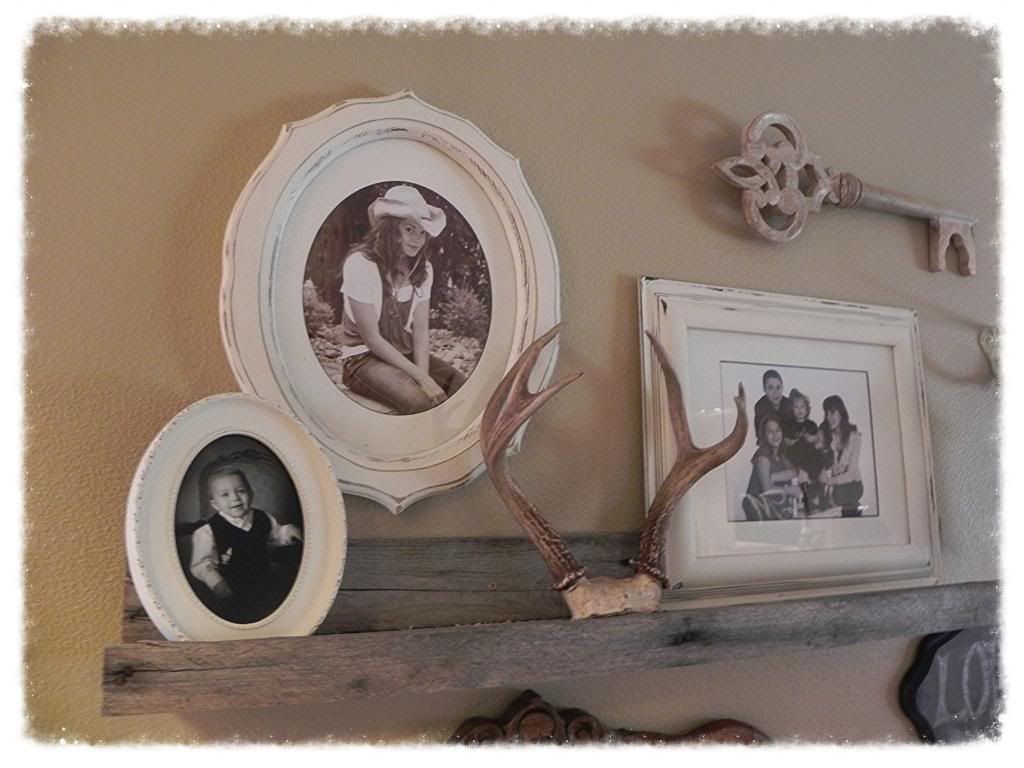

Oh ya I got the piece of drift wood at the beach this weekend, thanks to my husbands suggestion. I think he's starting to get me.
I also had the key it's just from Tj Maxx.
I made the subway art vinyl on the Cricut it took awhile to plan it out, but I love the words. I got my inspiration from this, blog post, except I couldn't make out all the words, but I would have had to shorten it anyway.
Are you a little inspired? I hope so. If you happen to be near the Cottage all wall decor is on sale this weekend. We have lots of one of a kind mirrors, clocks, chalkboards, frames, and more to build your own gallery wall.
Thanks for stoppin' by
Katie
Linking to:


.jpg)